Showing posts with label glitter. Show all posts

Friday, November 22, 2013

Coming Black Friday! Paint Box Polish Winter Collection!

I'm excited for today's post, readers!! I've got swatches of my new late fall/winter collection which is inspired by the women of Harry Potter! I've been working on this set for a long time and I'm glad to finally bring them to you.


More photos after the jump!

Saturday, May 25, 2013

NerdLacquer All of Time and Space

I saved my favorite NerdLacquer for last. This wasn't on my must-have list for the store opening at all, but it was available, and pretty, and another Doctor Who inspired one, so in the cart it went.


All of Time and Space has a mint-ish green base with a prominent silver shimmer. In the mix are small and medium fuschia hexes and small silver ones. Application was cake. Two coats and a layer of top coat. Easy peasy.

Thursday, May 23, 2013

NerdLacquer Don't Blink

NerdLacquer Don't Blink is the other polish that got me drooling over NerdLacquers and crying because I didn't get any before Amanda went on hiatus.

It's modeled after one of my favorite Who monsters, the Weeping Angels. Monsters that don't kill you, but zap you back in time and swipe some of your life energy. They're lightning fast and turn into stone if you look at them. Blink, and you're zapped. Hence, Don't Blink.


Pictured are two coats of light grey creme polish with small black and medium white/silver hex glitters. This photo shows a coat of Hard Candy Matte-ly in Love over it all. I didn't realize that all of the non-matted shots were blurry until I started writing the post. I prefer it matte anyway as it really brings out the stone look!

Wednesday, May 8, 2013

Zoya London - My first PixieDust polish

I was wary of the whole "textured polish" trend, but after hearing such rave reviews of Zoya's offerings, I decided to try a couple from the original PixieDust release. 

First up I have London, a beautiful grey with a large amount of silver shimmer. Application was super easy. I used two thin coats, no base coat and no top coat. Just make sure you let the first coat dry before adding the second, and you're golden! 


Wednesday, August 8, 2012

Cloud Mani with China Glaze I'm Not Lion

I started this week with a China Glaze I'm Not Lion manicure. I spent Monday's lunch break helping DH change the completely flat tire I found on my CRV and chipped the polish on 3 or 4 nails. Amazingly, I didn't want to redo them and saw that Let Them Have Polish! posted a cloud mani. The light bulb went off and I went to dig through my Helmer to find some colors.


I used two coats of the super sparkly, opaque, cool-toned CH I'm Not Lion from the Out on Safari collection as a base. The lower cloud is one coat of Hot Topic Black, and the gold is from Black Poppy. The gold was a little too sheer for one coat over black, but I did well with two careful coats.

I'm pretty happy with the results, and if you want to re-create it, see the original tutorial here on Nailside's blog.

Wednesday, August 1, 2012

Zoya Fall 2012 Diva Collection - Swatches and Review

Zoya has a pretty decent fall release this year with 15 new polishes in the Diva, Designer, and Gloss Collections. When I saw swatches of the metallic Diva collection, I knew I had to have them. I wasn't crazy about one of them, but I figured if I were going to buy 5, I may as well get all 6. 

2 coats, no top coat
Zoya Elisa is a polish that I would've gotten even if it weren't the perfect pearly, cherry red. I took 5 years of Spanish middle and high school, and we had to pick Spanish names. There was another Pam in my class who was before me alphabetically, and she picked Pamela. I wanted something different, so I picked Elisa.  The formula on this polish was great, as is usually the case with Zoya.

2 coats, no top coat
Ray is the one Diva polish I wasn't thrilled about. It's a pretty, frosty evergreen color, but I think it's pretty similar to butter LONDON's British Racing Green, which I own. Not a dupe, but close enough that were it not for my need for the complete set, I wouldn't have gotten it. Definitely worth getting if you don't have a deep green in your collection.

4 coats, no topcoat
 Zoya Daul, how impressed I was by this one in other blog posts, but it just didn't wow me in real life. Zoya's website describes Daul as such, "A medium red-toned purple base with heavy purple and gold iridescent metallic sparkle." It's also listed as a 5, which is the highest intensity level. I agree with the description, but definitely not the 5. I still had obvious nail line at 4 coats, and I waited for the prior coat to dry before adding another.
Highlighting Daul's glitter
 Daul is a very pretty color when the sun glints off of it. Maybe I'll try it over Suri.

3 coats, no top coat
FeiFei is a steel-blue base that is packed with blue, gold, and pink (!!) sparkles to lend a foil finish. While sheerer than the non-glitter polishes, I got great coverage with 3 thin coats. I think the pink sparkles in this one lends a very unique look to it. 

2 coats, no topcoat
Suri is a bold, blue-leaning royal purple metallic polish with very fine blue and red micro glitter. I wish that glitter translated on the nail a little better, but Suri is still a fabulous polish. It is a little warmer in real life, but my camera really freaks out with bright purples.

2 coats, no top coat
And finally, Zoya Song. Song! Wow. Pictures do not do this polish justice. Neither do the words bold, bright, or vibrant. The base is a true royal blue, and it is absolutely packed with tiny, irregular blue and silver glitter. It is totally opaque in 1 coat, but add a second because it adds great depth and really highlights the shimmer. This polish is hands-down my favorite of the set.

A completely gratuitous shot of Song

Thursday, July 26, 2012

Milani 3D Holographic polish in Cyberspace - Reswatched

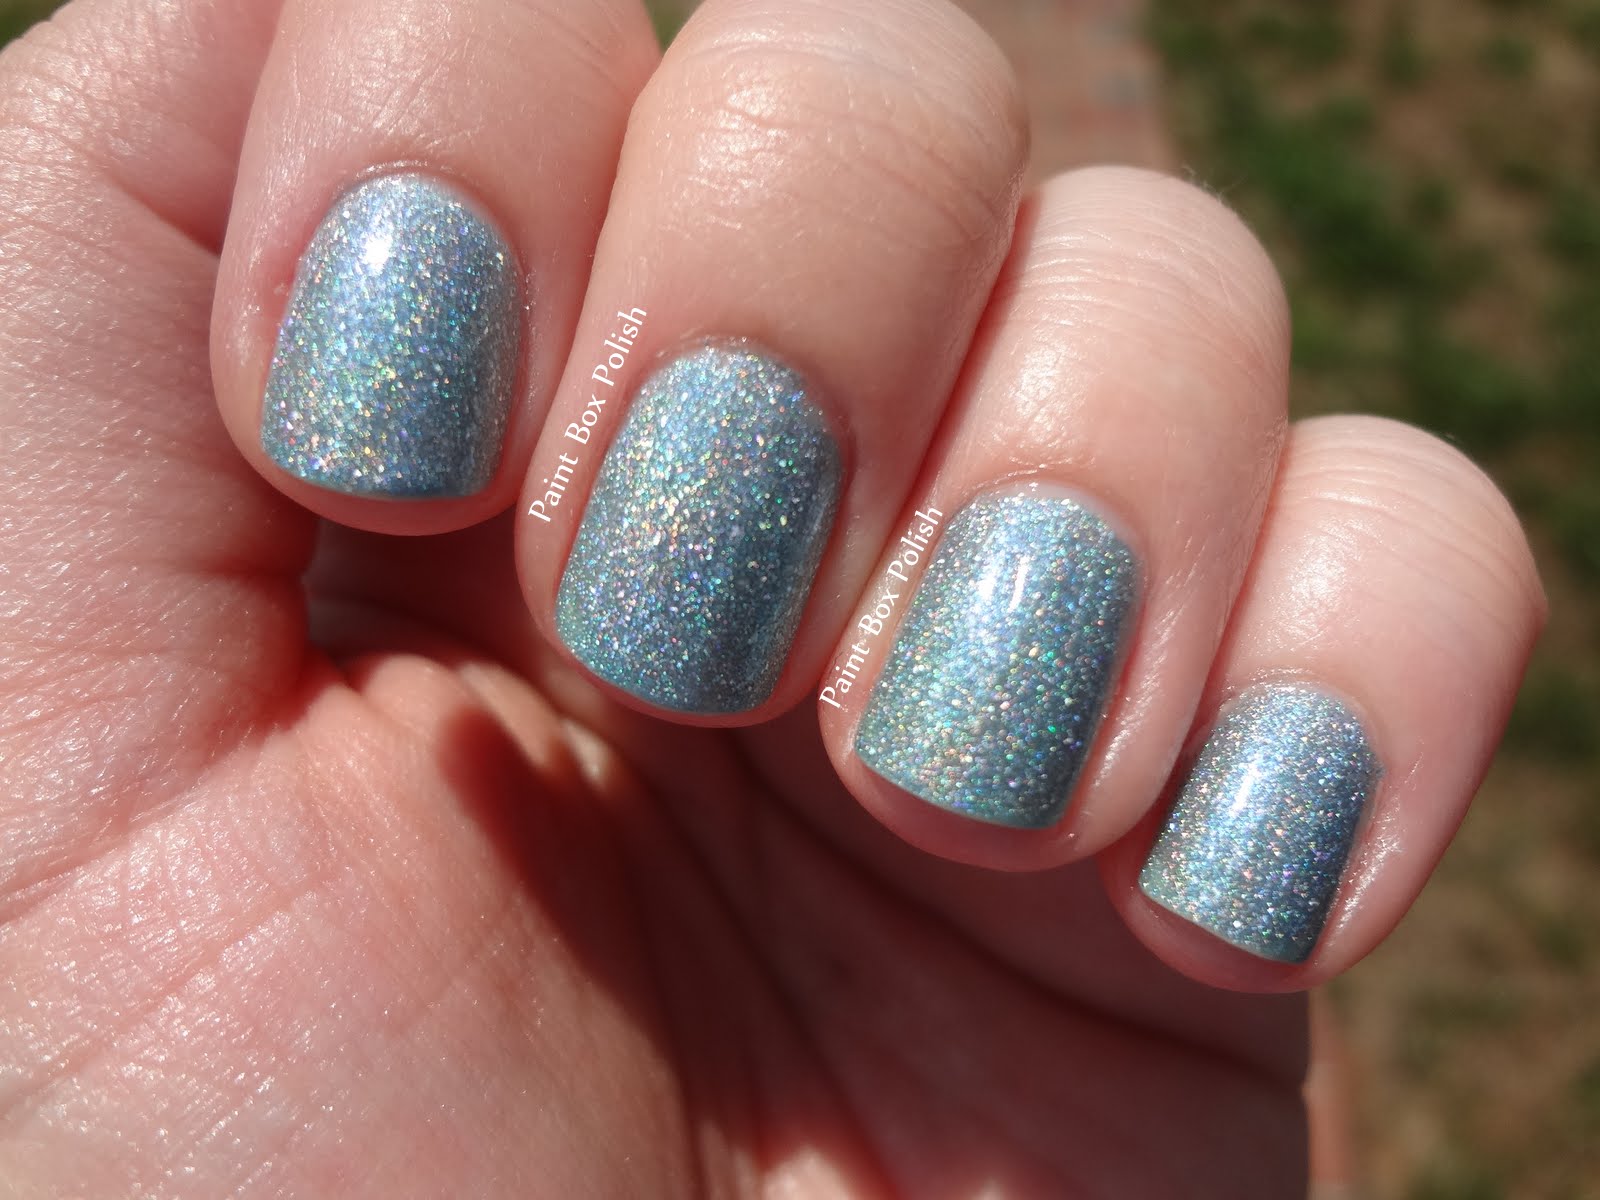
Today I have a polish that only worn a couple of times in the last year. Milani 3D Holo polish in Cyberspace. It is a very soft blue with glass-fleck silver particles. The irregularity of the glitter has this polish straddling the line between linear and scattered holo. A mild linear pattern is definitely visible in bright sunlight, but the milder, scattered holo effect is easily seen indoors as well.

3 coats of Cyberspace topped with Essie Good to Go

Blurred to appreciate the sparkle!

In direct sunlight. Enlarge photo to see more visible linear holo.
I purchased this polish from CVS for less than $5, but I haven't seen them available recently. They appear to be readily available at www.milanicosmetics.com.

Saturday, July 21, 2012

Max Factor Fantasy Fire over Orly Charged Up and China Glaze First Mate

This one is going to be pic heavy! It's impossible to do Fantasy Fire justice with a camera. All I can advise is to get it if you have a chance! I was lucky and won it in a giveaway. From What I understand, it's only available in the UK. :(

Fantasy Fire is a multi-chrome, fine glitter polish in a jelly-ish purple base. It's best to use as a topcoat because it comes in a tiny 5ml bottle and multiple coats would be wasteful! I used one coat over Orly Charged Up and 2 coats over China Glaze First Mate. Charged Up is a bright purple jelly. Not neon, but a true purple. First Mate is a true blue creme. Fantasy Fire's application was a cinch as it goes on like butter!

Click on the pictures to make them bigger if you want a better look!

1 coat over Charged Up. Look at the colors in the bottle!

You can see the red glow on the left and the shift from yellow/green to red on the right.

Another shot of the shift. Yellow/green near the cuticle, red at the tip.

This one is purely for the pretty. :)

Two coats of Fantasy Fire over First Mate. Not the best photo, but  I wanted to show it over blue as well.

You can see the difference in the shift with two coats .

Friday, July 20, 2012

The Foil Method - Get rid of glitter, not your nails!

Have you ever looked at that beautiful glitter polish and longed to wear it, but cringed at the thought of taking it off? I know I have. There's only so many times you can scrub and scrape at polish before removing a layer of your nails and losing your sanity. This method (which isn't mine by any means - it's all over Google and beauty blogs) is easy, fast, and works wonderfully!

You'll need a few simple supplies... 10 cotton balls/cotton pads, 10 small squares of aluminum foil, and polish remover. Acetone works the fastest, but any will do.


You'll also need a glitter mani. This is Nail-Venturous Floam after 4 days of wear. How great is that??


Soak a cotton ball in remover and place it over your nail. Wrap the foil around tightly. You want to hold the cotton ball in place and keep it from drying out too quickly. Repeat this process 10 times. Your second hand can be rather tricky, so you can do one hand at a time or enlist an assistant.


You'll end up with something like this. :) Let it sit for a few minutes. I let it stay on for 10 minutes, and removed by twisting the foil as I slid it off of each finger. A tiny bit of glitter was left at the sides of my nails, but it was easy to get rid of. My nails are still in great shape. Acetone can be drying, so I used a heavy dose of cuticle oil to moisturize after.

I hope you find this technique helpful. It really is quick and easy!

Monday, July 16, 2012

Nail-Venturous Floam!

First off, thanks so much and Happy Blogiversary to Emily over at Embellished Nails. I won Floam, Max Factor Fantasy Fire, and Fingerpaints Flecked in her One Year giveaway. That makes for pretty awesome nail mail!

So... Floam. Floam! Floam is a clear base absolutely packed with very small/round, matte hex blue and yellow glitter. It is super thick, but that's pretty necessary to keep all those pieces suspended. The brush was also very full, which is good because you need to pick up a decent amount of polish to keep from bald spots.


Check out the bonus shiny blue glitter!

I used a base coat of American Classics Bridge The Gap, two coats of Floam, a coat of Gelous, and Seche Vite Quick Dry Top Coat. It is definitely necessary to wait for Floam to dry a bit before adding the second coat. And even with a coat of thick Gelous and the even thicker Seche Vite, there are some bumps once the polish dries completely.

So... Is it a labor-intensive polish? A bit, but not nearly as bad as that sounded. Is is worth it? YES!!
Related Posts Plugin for WordPress, Blogger...